Introduction to Chainmail
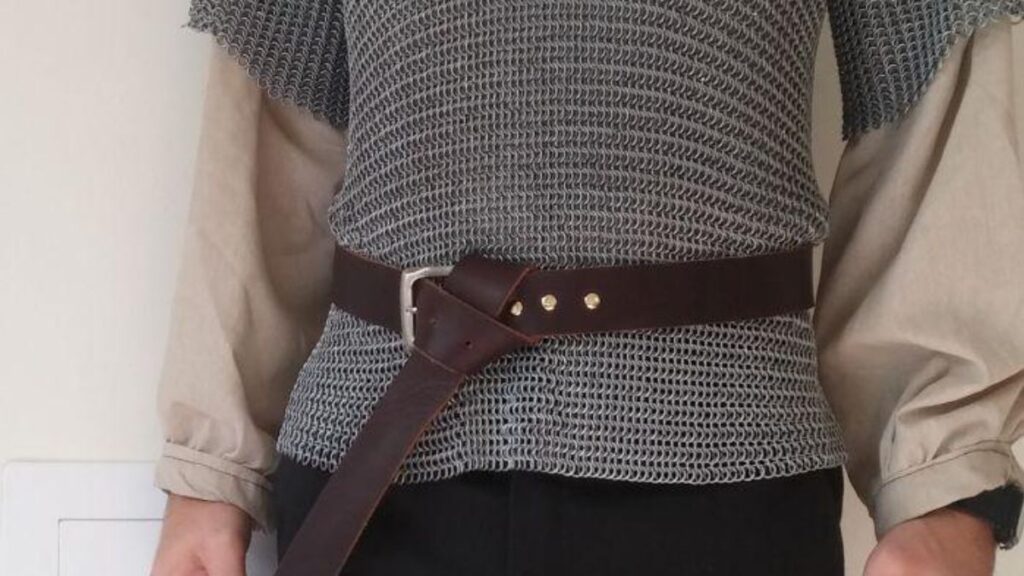
Chainmail has a rich history, dating back to ancient times when it was used as armor by warriors. The interlocking metal rings offered protection and flexibility on the battlefield. Today, chainmail is not just for knights in shining armor; it’s an exciting craft that anyone can try at home. Whether you’re drawn to its historical significance or simply want a unique way to express your creativity, making your own chainmail can be incredibly rewarding.
Imagine crafting pieces of art that double as functional attire! From costumes for events to stunning jewelry, the possibilities are endless with this age-old technique. If you’ve ever wanted to learn how to create your very own chainmail armor, you’re in the right place. Grab your pliers and let’s dive into the world of DIY chainmail!
Materials Needed for DIY Chainmail
Before diving into your chainmail project, gather the right materials. Quality matters, so invest wisely.
First up is metal wire or rings. You can choose aluminum for a lightweight option or steel for something more robust. Remember to consider gauge; thinner wire bends easily while thicker provides durability.
Next, you’ll need tools like pliers. Two pairs—one flat-nose and one round-nose—are essential for opening and closing rings smoothly without damaging them.
A sturdy work surface is crucial too. A cutting mat or wooden board works well to prevent slipping during assembly.
Don’t forget storage containers! Keeping your rings organized saves you time and frustration as you sort through various sizes and colors.
Safety gear such as gloves can protect your hands from sharp edges while working on those intricate designs.
Step-by-Step Guide on Creating a Basic Chainmail Pattern
Creating a basic chainmail pattern is easier than it sounds. Start by cutting your rings to the desired size. Typically, 16-gauge wire works well for beginners.
Next, take your pliers and open one ring slightly. This will serve as the anchor point for your first connection. Slip this ring through four others before closing it tightly.
Now, repeat this process. Add another row of rings by connecting them through both ends of your previous rings. Ensure they lie flat against each other for a seamless look.
Continue weaving in this manner until you reach the desired length or size for your project. Keep adjusting tension on each link so that everything stays uniform and snug.
Practice makes perfect with chainmail patterns, so don’t hesitate to try different designs as you become more comfortable with the technique!
Tips and Tricks for Beginners
Start small. Choose a simple pattern like the 4-in-1 weave for your first project. This will help you understand the basics without overwhelming yourself.
Invest in quality tools. A good pair of pliers makes all the difference. Look for ones with a comfortable grip to reduce hand fatigue during long crafting sessions.
Practice patience. Chainmail can be time-consuming, but don’t rush it. Taking your time ensures that each ring is properly closed and secure.
Keep organized. Use containers or trays to separate different sizes of rings or colors if you’re feeling adventurous with designs. It’ll save you frustration down the line.
Learn from others. Join online forums or local groups where experienced crafters share their tips and tricks. You might even find inspiration for new projects!
Remember that mistakes are part of learning—embrace them and use them as stepping stones toward improvement.
Advanced Techniques for Experienced Crafters
Once you’ve mastered the basics of chainmail, it’s time to explore advanced techniques that can elevate your creations. Consider experimenting with different weaves, such as the intricate European 4-in-1 or the stunning Byzantine pattern. Each offers a unique texture and flow.
Adding embellishments is another way to personalize your work. Incorporate beads or colored rings for a touch of flair. This not only enhances aesthetics but also allows you to showcase your individual style.
For those seeking functionality, think about structural modifications. Reinforce joints or experiment with hybrid patterns that combine elements from various designs for added durability.
Don’t shy away from using alternative materials like titanium or brass for an edgy look. These choices can significantly change both weight and appearance, making each piece truly one-of-a-kind in its own right.
Creative Ideas for Using Chainmail in Everyday Life
Chainmail isn’t just for medieval reenactments. You can incorporate this art into everyday life in unique ways.
Consider jewelry. A chainmail bracelet or necklace adds a bold touch to any outfit. Each link can be customized with different colors, making your accessory truly one-of-a-kind.
Home decor is another creative outlet. Picture a stunning chainmail curtain that catches the light and sparks conversation. It’s both functional and artistic.
If you’re feeling adventurous, try crafting chainmail coasters or trivets for your dining table. These practical pieces offer durability while showcasing your craftsmanship.
For pet lovers, think about designing a collar or leash using lightweight aluminum rings. Your furry friend will strut in style!
With so many possibilities, integrating chainmail into daily life opens up endless avenues for creativity and self-expression.
Conclusion: Why You Should Try Making Your Own Chainmail Armor
Creating your own chainmail armor can be a rewarding and fulfilling project. It allows you to connect with history while also expressing your creativity. The process of weaving metal rings into intricate patterns is not only therapeutic but also a great way to develop hand-eye coordination.
With the satisfaction that comes from seeing your effort transform into something tangible, making chainmail can become more than just a hobby; it could evolve into a passion. Whether for cosplay, reenactment, or simply as an art form, crafting chainmail opens up endless possibilities.
Embrace the challenge and enjoy every step of the journey. Your very own piece of armor awaits!